Are you tired of constantly tripping over your child’s toys scattered all over the floor? Well, it’s time to take action and create your own personalized crate toy box! Not only will this project help keep your child’s toys organized, but it will also add a fun and personal touch to their playroom or bedroom. By repurposing old wooden crates, adding a coat of paint, and incorporating your child’s name or favorite color, you can easily create a stylish and functional storage solution. So gather your materials and get ready to bring order and creativity to your home with a personalized crate toy box. Hey there! Looking for a fun DIY project to organize all your child’s toys? Why not create your own personalized crate toy box? It’s a great way to keep everything in one place and add a personal touch to your child’s playroom. Let’s get started!
Why Choose a Crate Toy Box?
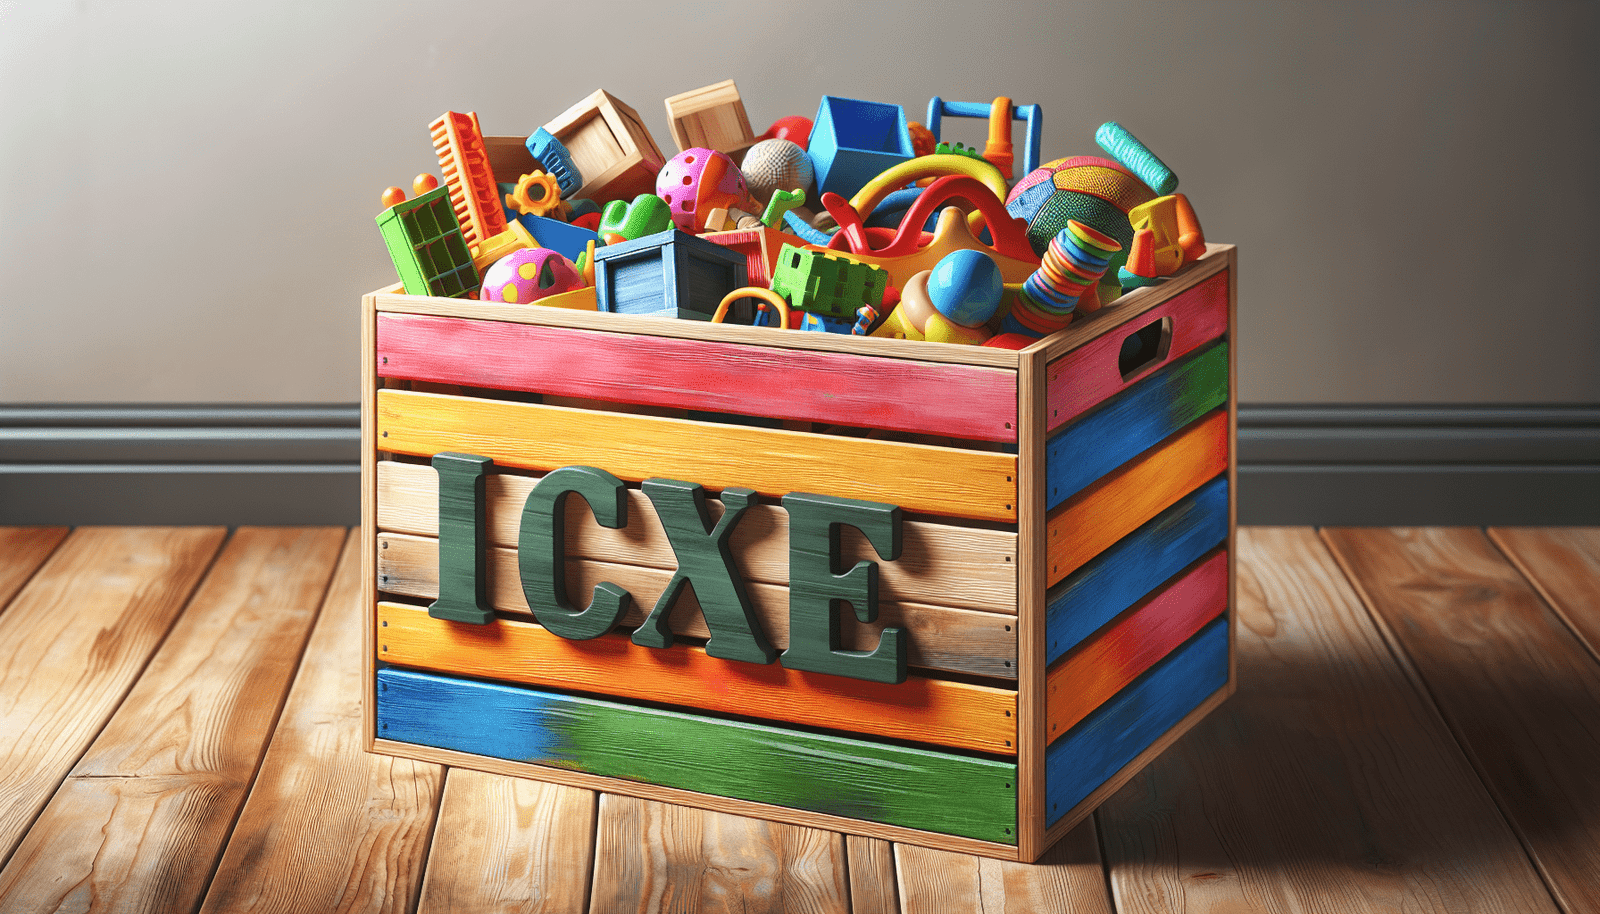
Crate toy boxes are not only functional but also stylish. They add a rustic and charming touch to any room while providing ample storage space for toys of all shapes and sizes. Plus, you can easily personalize them to match your child’s personality and interests.
Personal Touch
Adding a personal touch to your child’s toy box can make it more special and unique. Whether you paint their name on it, add their favorite colors, or decorate it with their favorite characters, a personalized crate toy box is sure to be a hit.
Materials Needed
Before you get started, gather all the materials you’ll need to create your personalized crate toy box. Here’s a list of what you’ll need:
- Wooden crate (size of your choice)
- Sandpaper
- Paint or wood stain
- Paintbrushes
- Stencils or stickers for decoration
- Clear varnish (optional)
Make sure to choose a wooden crate that is sturdy and in good condition. You can find wooden crates at craft stores, home improvement stores, or even online.
Steps to Create Your Personalized Crate Toy Box
Step 1: Sand the Crate
Start by sanding down the wooden crate to ensure a smooth surface for painting or staining. Use medium-grit sandpaper to remove any rough edges or imperfections. Be sure to sand both the inside and outside of the crate.
Step 2: Choose Your Design
Decide on the design for your personalized crate toy box. You can get creative here and let your imagination run wild. Whether you want to paint a fun pattern, add your child’s name, or decorate it with stickers, the possibilities are endless.
Step 3: Paint or Stain the Crate
Once you’ve decided on your design, it’s time to paint or stain the wooden crate. Use a paintbrush to apply a base coat of paint or wood stain to the entire crate. Let it dry completely before adding any additional layers or designs.
Step 4: Add Personalized Touches
This is where you can really make your crate toy box unique. Use stencils, stickers, or freehand painting to add personalized touches to the crate. You can also add your child’s name, favorite quotes, or even their handprints for a special touch.
Step 5: Seal the Crate (Optional)
If you want to protect the design and ensure that the crate toy box lasts for a long time, consider sealing it with a clear varnish. This will help prevent chipping, fading, or damage from daily wear and tear.
Step 6: Let It Dry
Once you’ve finished decorating and sealing the crate toy box, make sure to let it dry completely before adding any toys or items inside. This will ensure that the paint or stain has fully cured and won’t transfer onto your child’s toys.
Tips for Maintaining Your Crate Toy Box
Regular Cleaning
To keep your personalized crate toy box looking its best, make sure to regularly dust it off with a soft cloth or brush. You can also use a damp cloth to wipe down any spills or stains.
Rotate Toys
To prevent your child from getting bored with their toys, consider rotating them in and out of the crate toy box. This will keep things fresh and exciting for your little one.
Organize by Category
For easy access and organization, consider sorting your child’s toys into categories within the crate toy box. You can have separate sections for books, stuffed animals, building blocks, and more.
Get Creative
Don’t be afraid to switch up the design of your personalized crate toy box every once in a while. You can repaint it, add new stickers, or change the decorations to keep things interesting.
Final Thoughts
Creating your own personalized crate toy box is a fun and rewarding project that will not only help keep your child’s toys organized but also add a special touch to their playroom. Whether you’re a seasoned crafter or a beginner DIYer, this project is perfect for anyone looking to add a creative flair to their home decor. So grab your supplies and get started on crafting a one-of-a-kind toy box that your child will love!
