If you’re looking to add some charm and character to your garden, why not consider transforming it with upcycled wooden crate planters? These versatile and affordable containers not only provide a rustic touch to your outdoor space, but they also offer a practical solution for growing a variety of plants and flowers. Whether you have a small balcony or a sprawling backyard, upcycled wooden crate planters are a great way to make a statement and create a unique focal point in your garden. With a bit of creativity, you can turn an old wooden crate into a beautiful planter that will be the envy of your neighbors. So, roll up your sleeves and get ready to embark on a fun and eco-friendly garden project that will transform your outdoor oasis.

This image is property of images.unsplash.com.
Choosing the Right Wooden Crates
When it comes to selecting the right wooden crates for your garden, there are a few factors you’ll want to consider. First, assess the size and weight capacity of the crates. Consider the dimensions of the plants you intend to grow and ensure that the crates offer enough space to accommodate their growth. Additionally, pay attention to the weight capacity of the crates to ensure they can support the soil and plants without sagging or breaking.
Another important factor to consider is the material and durability of the wooden crates. Opt for crates made from sturdy and weather-resistant wood, such as cedar or redwood, that can withstand outdoor conditions and last for years to come. It’s also a good idea to choose crates with proper drainage. Look for crates with gaps or slats that allow excess water to drain out, preventing waterlogging and promoting healthy plant growth. Lastly, take a look at the design and aesthetics of the crates. Choose crates that align with your personal style and complement the overall look of your garden.
Preparing the Crates
Before you start using the wooden crates as planters, it’s important to properly prepare them. Begin by cleaning and sanitizing the crates to remove any dirt, debris, or potential pests. You can use a mild soap and water solution or a vinegar-water mixture for this purpose. After cleaning, allow the crates to dry completely.
Next, sand the wooden crates to smooth out any rough edges or splinters. This will not only make the crates safer to handle but will also give them a more polished appearance. Once the crates are sanded, treat the wood with a suitable wood preservative or sealant. This will help protect the wood from moisture, pests, and decay, ensuring the longevity of your crate planters.
To further enhance the durability of the crates, you may consider applying a waterproof sealant. This will provide an additional layer of protection against water damage and extend the lifespan of the wooden crates. Lastly, drill drainage holes in the bottom of each crate to ensure proper water drainage and prevent waterlogging, which can be detrimental to plant health.
Selecting Suitable Plants
Now that your wooden crate planters are ready, it’s time to choose the right plants to fill them. When selecting plants for your crate planters, opt for ones that thrive in containers. Look for plants that have compact root systems and can adapt well to the limited space provided by the crates. Herbs like basil, oregano, and mint, as well as flowers like geraniums and petunias, are excellent choices for crate planters.
Consider the amount of sunlight your garden receives throughout the day. Some plants thrive in full sun, while others prefer partial shade. Choose plants that are suitable for the amount of sunlight your garden receives to ensure their optimal growth and health. Additionally, take into account the water and soil requirements of the plants. Some plants prefer well-drained soil, while others thrive in moisture-retentive soil. Choose plants that share similar water and soil preferences to create a harmonious environment within your crate planters.
If you’re looking to maximize space in your garden, consider exploring options for vertical gardening. Certain plants, such as strawberries, tomatoes, and vining flowers, can be trained to grow upwards, making them perfect for crate planters that are stacked or mounted vertically. This allows you to make the most of your available space and create a visually stunning vertical garden.
Arranging the Crate Planters
When it comes to arranging the crate planters in your garden, several factors come into play. First, determine the optimal placement of the planters based on the individual needs of the plants. Consider factors such as sunlight requirements and compatibility between different plant species. For example, plants that prefer full sun should be placed in areas that receive the most sunlight, while shade-loving plants should be placed in more shaded parts of the garden.
Creating a balanced and appealing layout is also important. Group the crate planters together to create a cohesive and visually pleasing display. You can arrange them in clusters of varying sizes or create a symmetrical arrangement for a more formal look. Additionally, consider using the crates to divide different sections of your garden. This can help create visual boundaries and add structure to your outdoor space.
Utilizing different levels and heights can add depth and dimension to your garden. Place taller crate planters at the back or center, with shorter ones in front, to create an interesting visual effect. Use crates of varying heights to create a tiered garden, giving each plant ample space and maximizing sunlight exposure. By experimenting with different heights and levels, you can create a visually stunning garden that is both functional and aesthetically pleasing.

This image is property of images.unsplash.com.
Preparing the Soil
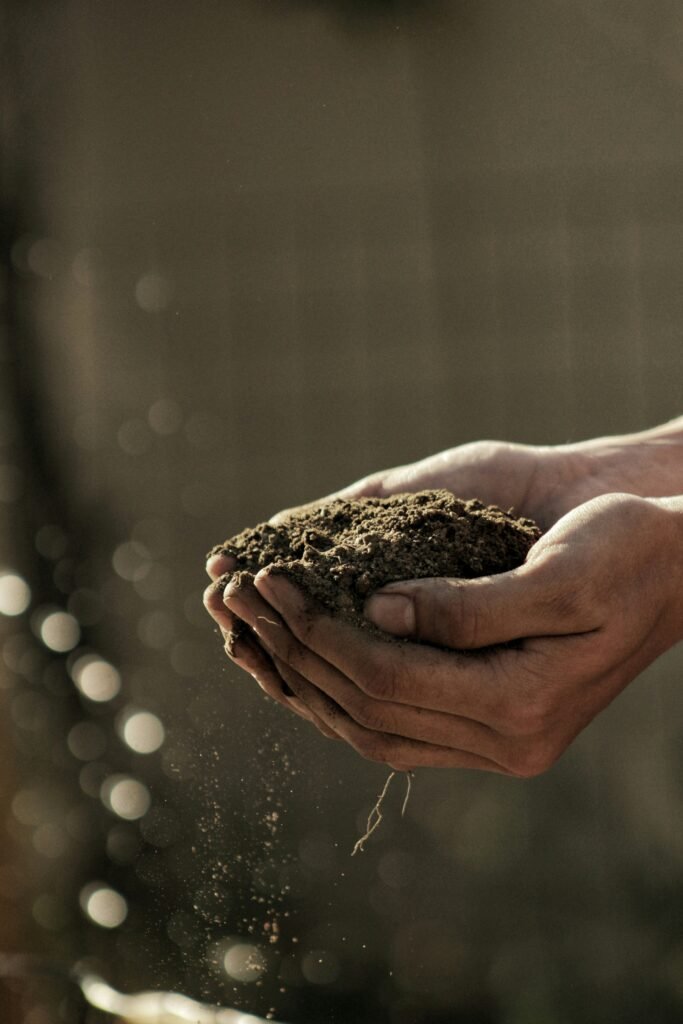
High-quality soil is a crucial element for the success of your crate planters. When selecting potting soil, opt for a well-draining, nutrient-rich blend specifically formulated for container gardening. This ensures that your plants receive the necessary nutrients and moisture without becoming waterlogged.
To further enhance the soil quality, mix in compost or organic matter. This enriches the soil with essential nutrients and improves its ability to retain moisture. It also promotes healthy root growth and overall plant development. Additionally, ensure proper drainage and aeration by adding perlite or coarse sand to the soil mix. This helps prevent waterlogging and allows oxygen to reach the plant roots, facilitating healthy growth.
Considering the soil pH is also important, as different plants have different pH preferences. Conduct a soil test to determine the pH level of your soil and choose plants that thrive in the identified pH range. Some plants prefer acidic soil, while others prefer alkaline or neutral soil. Adjust the pH of your soil accordingly by adding amendments, such as lime or sulfur, to create ideal growing conditions for your chosen plants.
Planting and Transplanting
When starting seeds, it’s often best to begin in small containers before transferring the seedlings to the crate planters. This allows you to closely monitor their growth and provide optimal care during the early stages. Once the seedlings have developed sufficient roots and are sturdy enough, they can be transplanted into the crate planters.
Ensure proper depth and spacing when planting or transplanting your plants. Each plant has specific requirements for root depth, so refer to the planting instructions for each individual species. Avoid planting too deep, as this can lead to rot and other issues. Also, be mindful of the spacing between plants to prevent overcrowding, which can inhibit growth and lead to competition for resources.
During the transplanting process, it’s important to handle the roots with care. Gently loosen and untangle the roots before placing the plants in the crate planters. Take care not to break or damage the roots, as they are crucial for plant health and establishment. Once the plants are in their new homes, gently firm the soil around the roots to secure them and provide stability.

This image is property of images.unsplash.com.
Watering and Fertilizing
Understanding the watering needs of each individual plant is crucial for their overall health and growth. Some plants require more frequent watering, while others prefer a drier environment. Take into account the specific water requirements of each plant and adjust your watering schedule accordingly.
When watering your crate planters, use appropriate techniques to ensure the water reaches the roots effectively. Water at the base of the plants, aiming for the soil rather than the leaves, to avoid wasting water and prevent diseases like leaf rot. Consider using tools like watering cans or drip irrigation systems to provide precise watering without causing soil compaction or water runoff.
To prevent overwatering and waterlogging, always ensure proper drainage in the crate planters. Excess water should be able to freely drain out of the drainage holes in the bottom of the crates. Monitor the moisture levels of the soil and adjust your watering schedule accordingly. Remember, it’s better to err on the side of underwatering rather than overwatering, as most plants can tolerate slight drought conditions better than waterlogged soil.
Choosing suitable fertilizers for your container plants is essential to provide them with the necessary nutrients for healthy growth. Opt for slow-release fertilizers specifically formulated for container gardening, as they provide a continuous supply of nutrients over an extended period. Follow the instructions on the fertilizer packaging and avoid overfertilization, as it can lead to nutrient burn and adversely affect plant health.
Maintaining and Pruning
Regular maintenance and pruning are key to the overall health and appearance of your crate planters. Regularly check for signs of pests and diseases, such as chewed leaves or discoloration, and take appropriate measures to address any issues. Remove any weeds or unwanted growth that may compete with your plants for resources and compromise their health.
Pruning and trimming are important for maintaining plant health and shape. Remove any dead or damaged branches to promote new growth and prevent the spread of diseases. Trim back overgrown branches to maintain the desired size and shape of the plants. Pruning also helps improve airflow and sunlight penetration, which is beneficial for the overall health of the plants.
Avoid overcrowding your crate planters, as this can lead to poor air circulation and increased risk of disease. If your plants start to become overcrowded, consider thinning them out by removing extra seedlings or transplanting some plants to other containers or garden areas. This will ensure that each plant has enough space to grow and thrive.
Protecting the Wood
To protect the wooden crates from the elements and prolong their lifespan, it’s important to apply a protective finish or paint. Choose a finish that is specifically designed for outdoor use and offers protection against UV rays, moisture, and pests. Apply the finish according to the manufacturer’s instructions, ensuring even coverage and thorough protection.
If you prefer a more natural approach, you can use various homemade remedies to preserve the wood. A mixture of equal parts boiled linseed oil, turpentine, and a natural resin like pine tar can be applied to the wooden crates to create a natural, weather-resistant barrier. Be sure to apply the mixture evenly and allow it to dry completely before placing the crates in your garden.
It’s also important to avoid direct contact between the wooden crates and moist soil, as constant exposure to moisture can accelerate wood decay. Place a layer of landscape fabric or plastic sheeting at the bottom of each crate to create a barrier between the soil and the wood. This will help prevent rot and extend the lifespan of your crate planters.
Periodically inspect the wooden crates and refresh the protective finish as needed. Over time, the finish may wear off or become damaged, especially in harsh weather conditions. By regularly maintaining and refreshing the finish, you can ensure the ongoing protection and durability of your wooden crate planters.
Repurposing and Reconfiguring
One of the great advantages of using wooden crate planters is their versatility and adaptability. There are countless ways to repurpose and reconfigure the crates to suit different seasons and design preferences. Get creative and think outside the box to transform your garden throughout the year.
For different seasons, consider repurposing the crates to showcase seasonal flowers or plants. In the spring, fill the crates with vibrant tulips or daffodils. In the summer, plant sunflowers or colorful annuals. For fall, consider ornamental grasses or mums, and in winter, create a festive display with evergreen branches or holly.
Rearranging the crates can also create varied aesthetics and fresh perspectives in your garden. Experiment with different layouts and combinations to create unique focal points or walkways. Mix and match crates of different sizes, styles, and finishes to add visual interest and personalize your outdoor space.
Combining the wooden crates with other upcycled items can further enhance their versatility and visual appeal. Consider adding old ladders, wooden pallets, or vintage crates to create a rustic and eclectic garden display. Let your imagination run wild and create a garden that reflects your personality and embraces the concept of upcycling.
By thinking creatively and exploring different possibilities, you can transform your garden with upcycled wooden crate planters. Not only will you create a unique and environmentally friendly garden space, but you’ll also enjoy the satisfaction of repurposing and giving new life to old materials. Get started on your crate planter project today and watch as your garden blooms with beauty and creativity.

